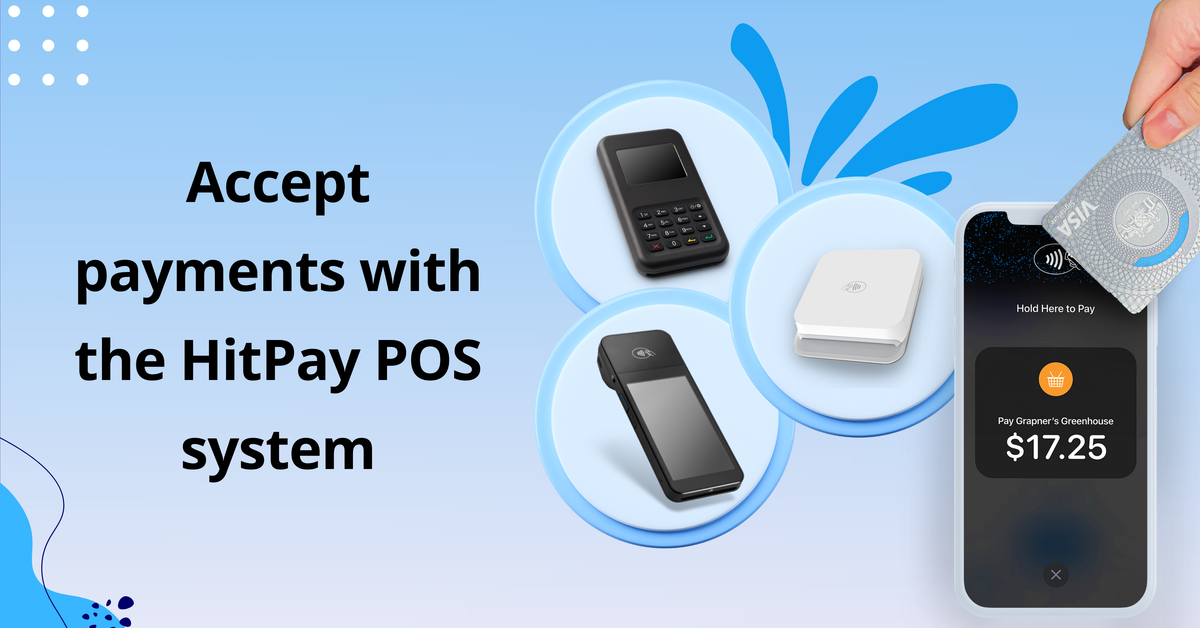
Accept payments easily with the HitPay POS system for merchants — Credit Card Terminal and Tap To Pay
Accept contactless payments with the HitPay POS system! Our credit card terminal is made for small and medium business needs.
Whether you have a physical store or are selling online, you'll need a reliable point of sale (POS) system. However, most POS systems on the market aren't ideal for smaller businesses.
When renting a credit card terminal, merchants face these common issues:
- Expensive rental and maintenance fees
- Minimum-term contracts
- Minimum monthly transactions
- Lack of integration with accounting platforms
- Need to manually update inventory and sales
- Long approval process and delivery time
We know, it’s a headache! To solve these problems, we developed HitPay POS products with smaller merchants in mind:
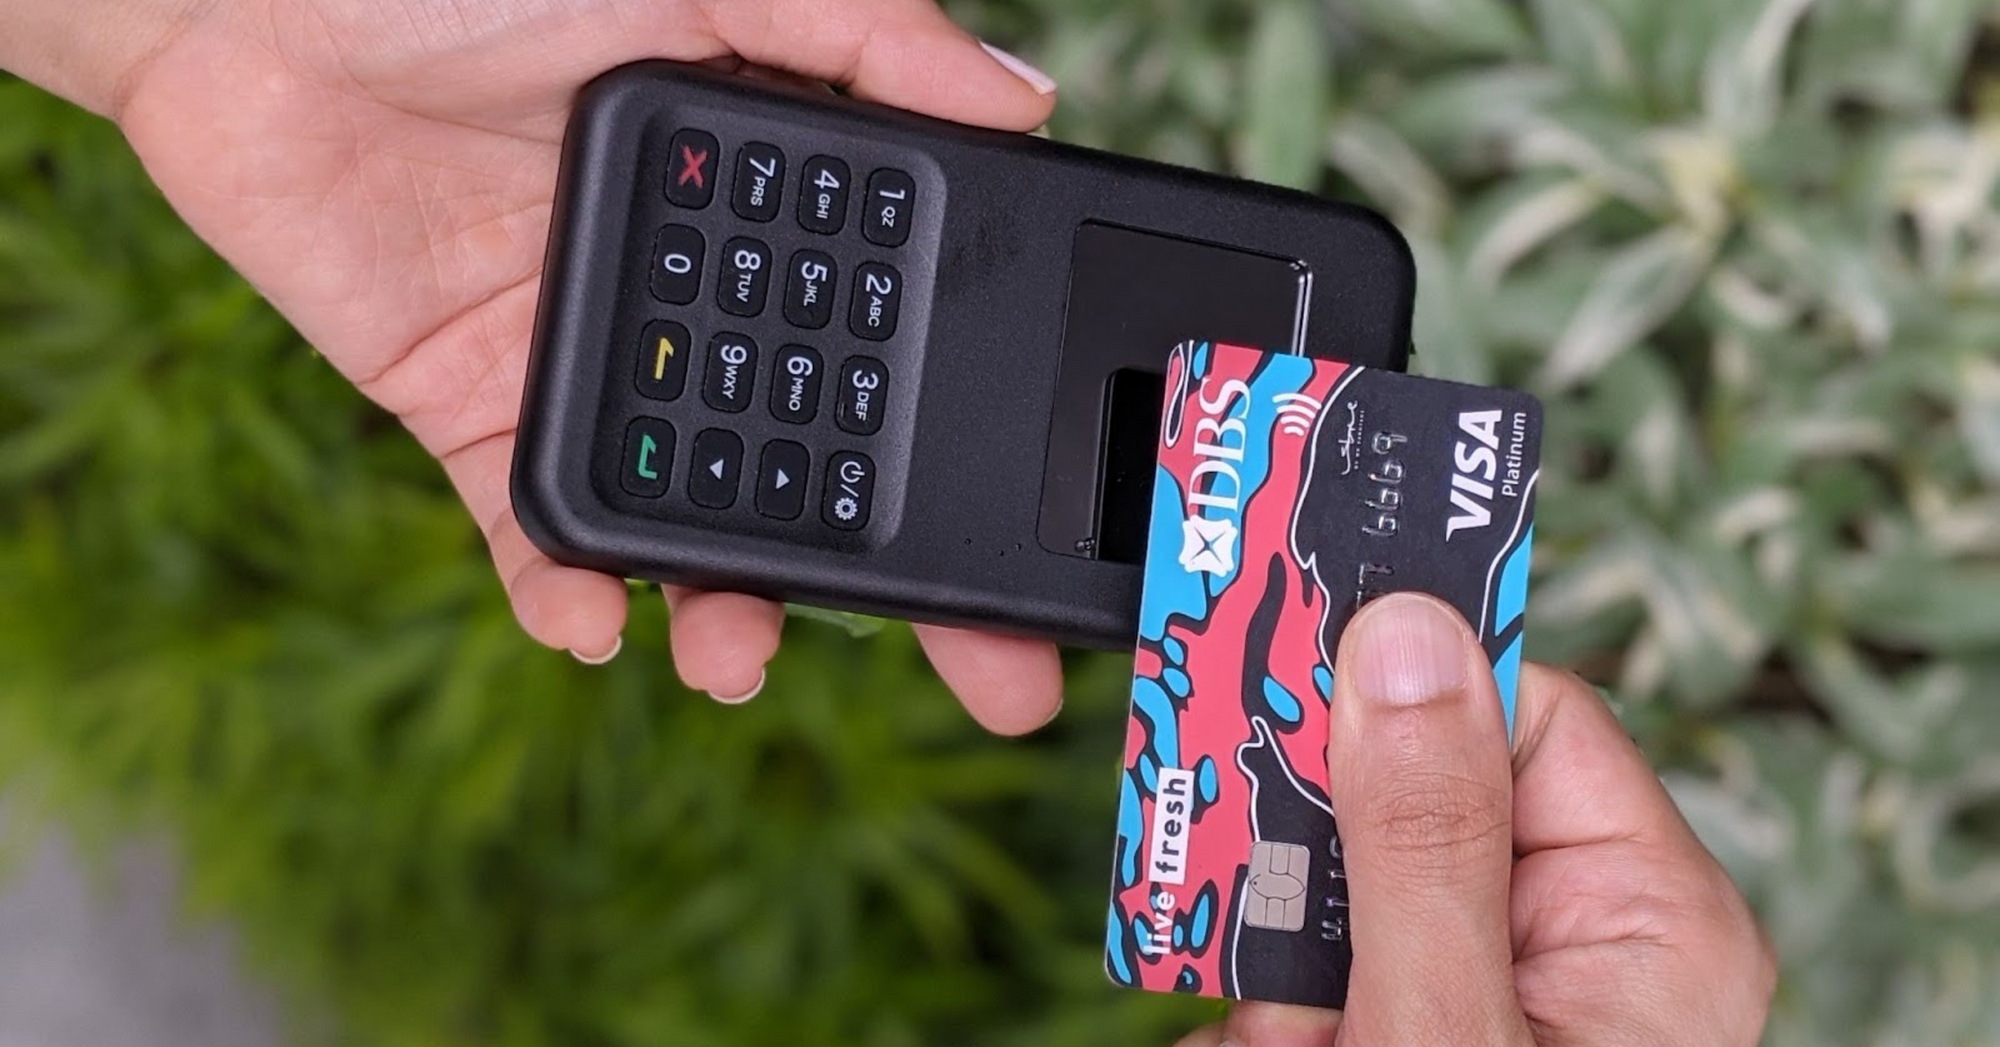
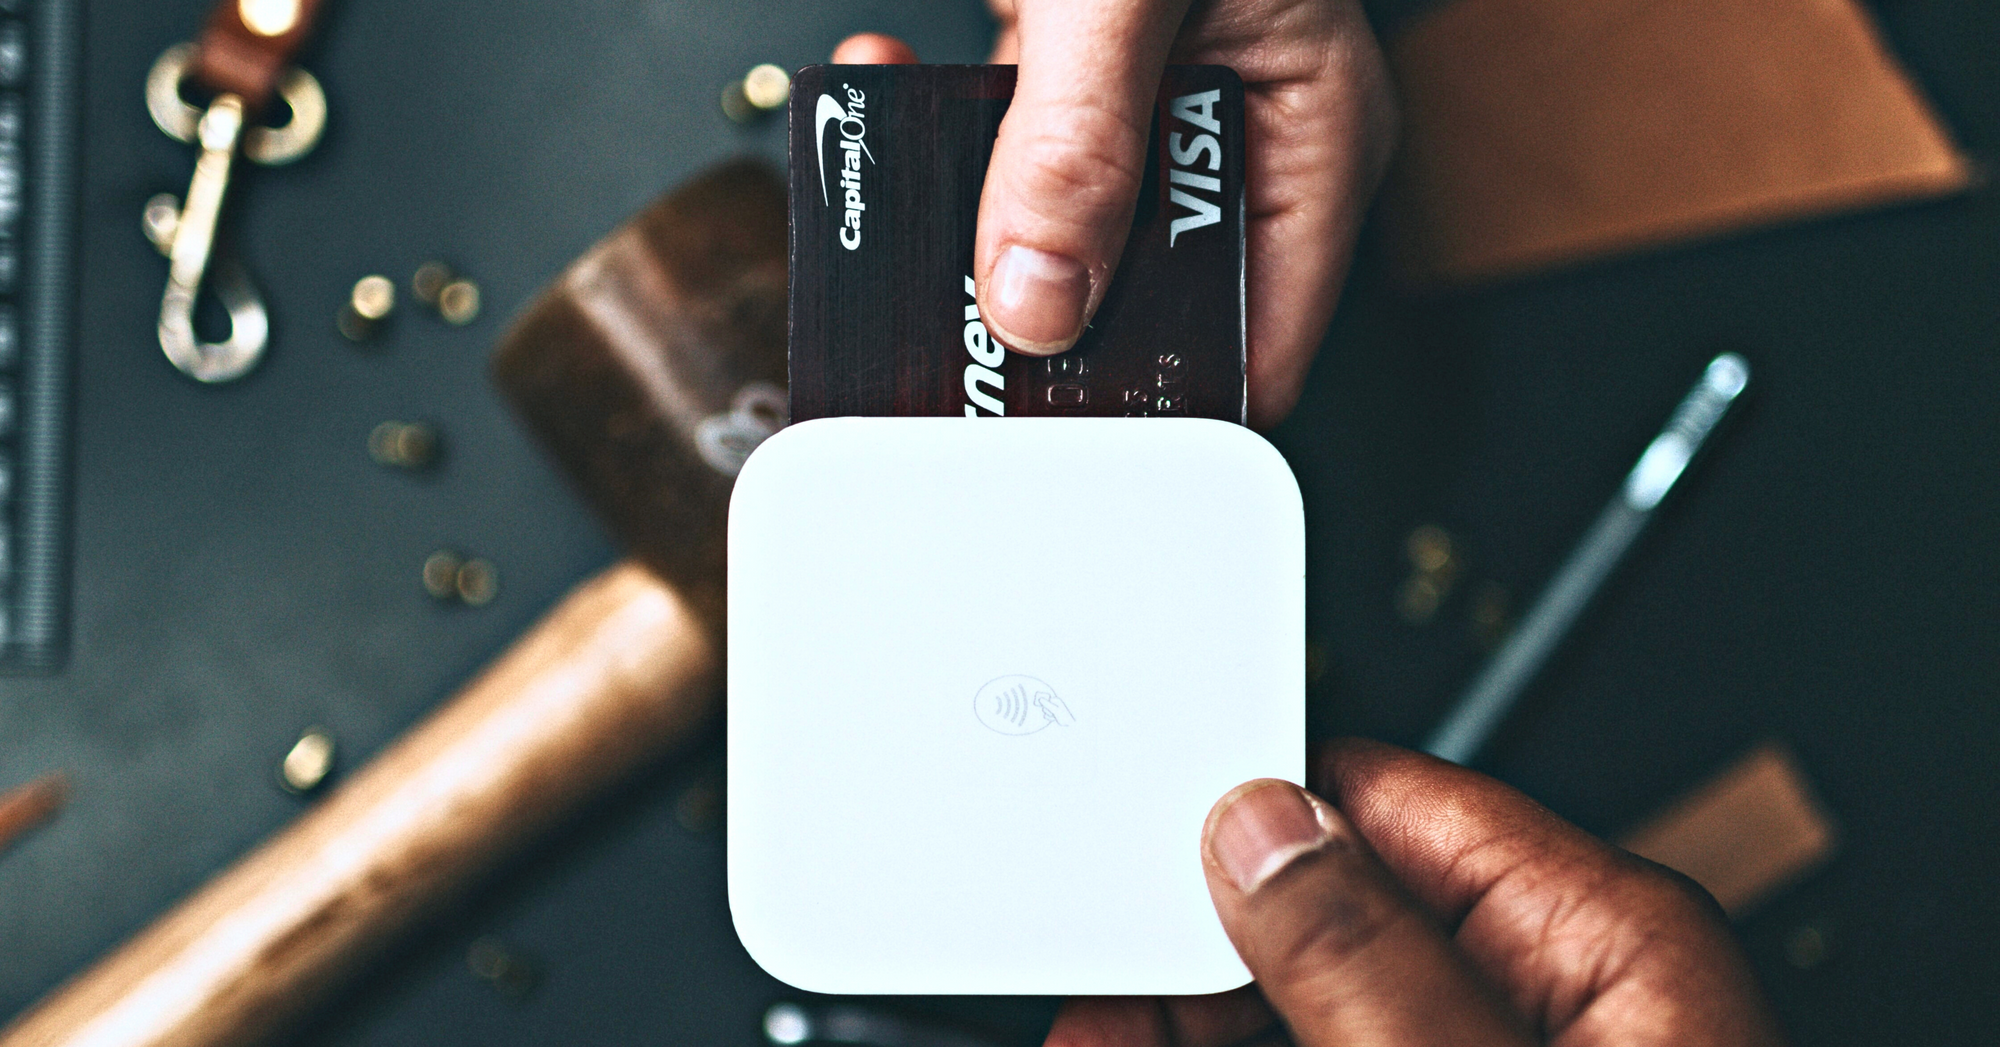
HitPay Credit Card Terminal — Accept in-person payments made through credit cards including Visa, Mastercard, AMEX, and Google Pay. Our integrated credit card terminal also records cash payments so all your transactions are in one place. Works on desktop and mobile.
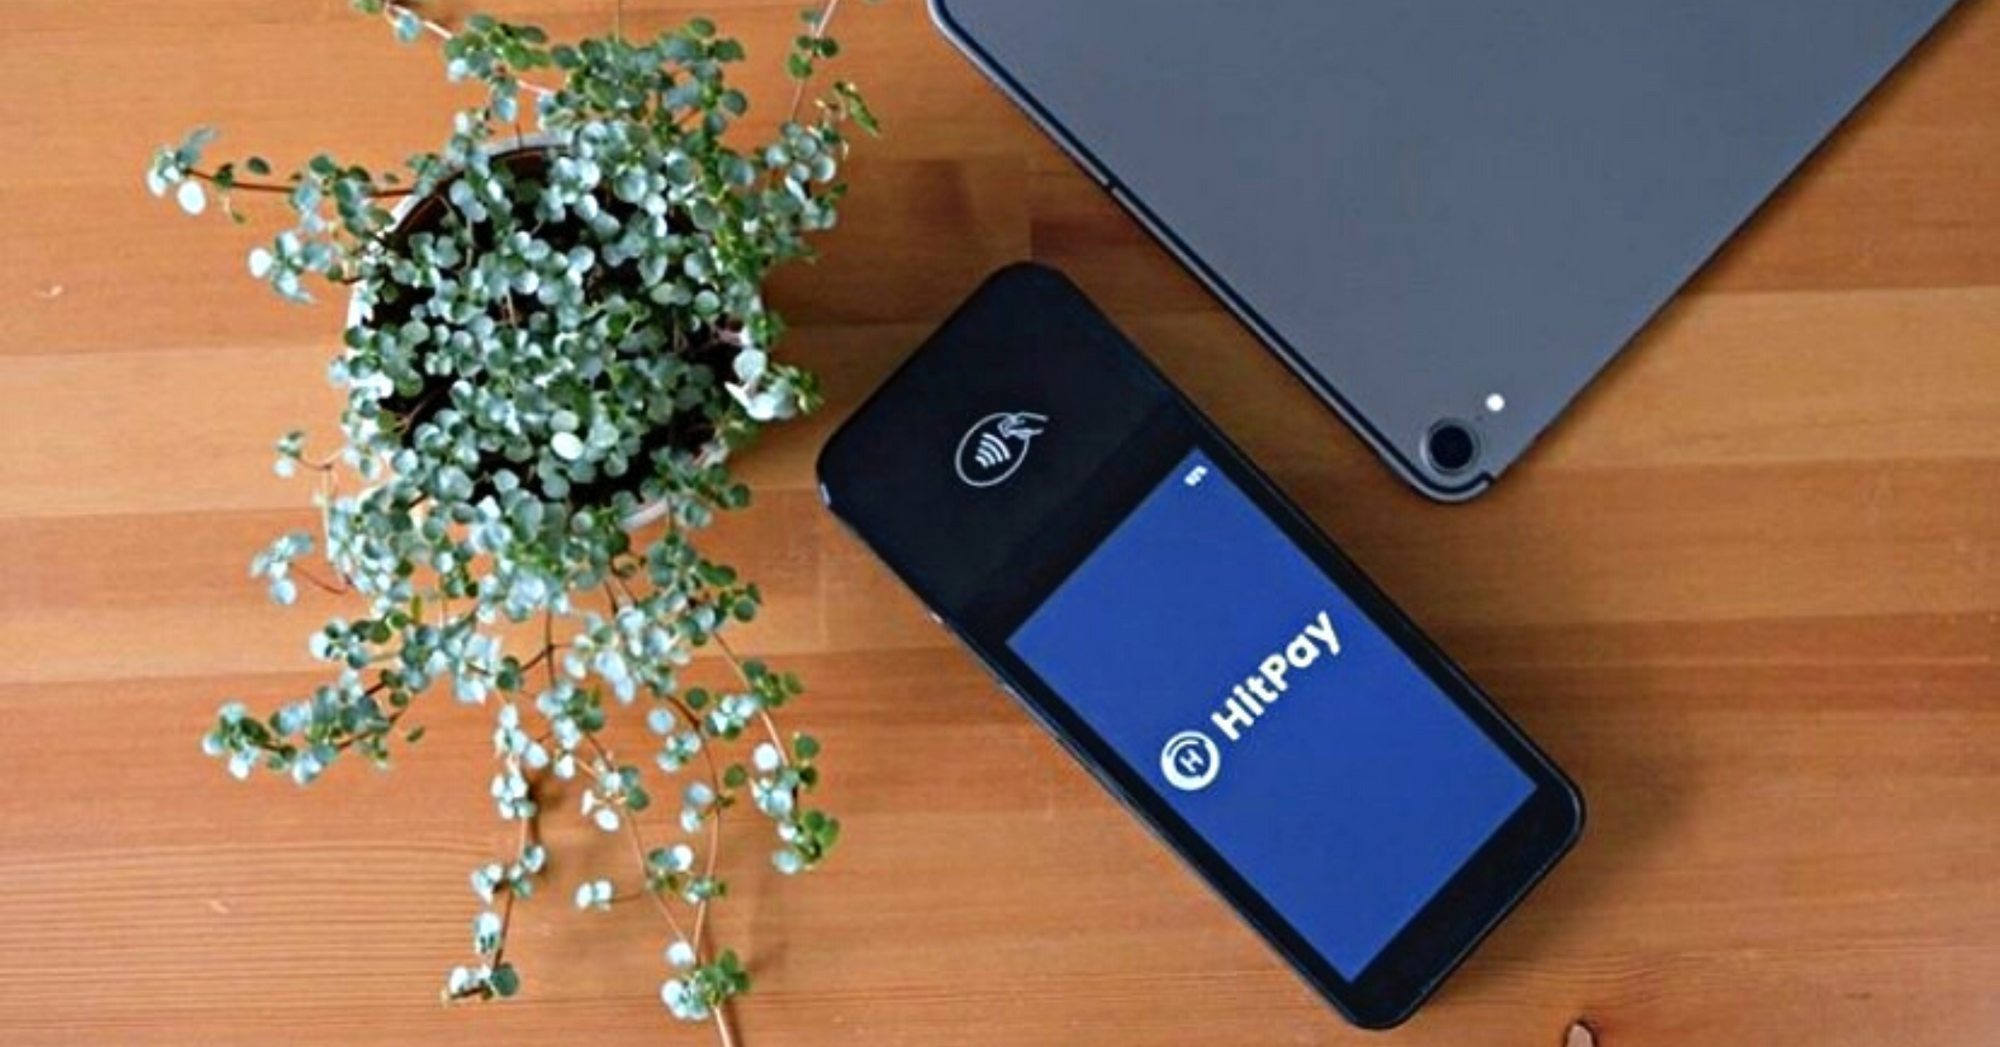
Tap To Pay — Accept contactless payments directly on your phone, no card reader required! Completely secure through the HitPay app.
Why HitPay POS is the best choice for SMEs
Our products are designed to suit the needs of growing businesses.
Here's how:
- More payment options: Our products accept payments from major credit cards as well as Apple Pay and Google Pay.
You can also use the HitPay mobile app to accept local payment methods such as PayNow in Singapore and Afterpay in the US and Australia. - No rental fees: Unlike most options on the market, our Credit Card Terminal doesn't have any rental or hidden fees. Order the credit card machine for a one-time purchase fee — after that, it’s completely yours. Your credit card machine will continue to receive free software updates when you connect to the HitPay network.
Instead of a recurring rental fee, we charge per transaction, so you only need to pay when you make a sale. - No minimum-term contracts: Since you only pay per transaction, you don't need to worry about taking a break or pausing your HitPay POS system. You have complete flexibility to do what's best for your business.
- Easily portable: Our Credit Card Terminal is small and wireless — easy to bring around for pop-ups and trade shows.

- Efficient accounting: Our products are integrated with Xero accounting software. Plus, we record transactions from all sales channels (credit card terminals, online store, etc.) in one place!
- Easy inventory tracking: Sync your Shopify or WooCommerce inventory to HitPay's POS software for free. This keeps your online store inventory up-to-date every time you charge a product through HitPay’s POS system.
- Multi-location features: Collect payments and manage transactions across different physical stores. Our inbuilt multi-location POS settings let you switch between different stores in just a few clicks.
- Free email receipts: You can also email or print receipts after the transaction.
Tip: Choose ‘email receipt’ to collect customer emails. This is useful for EDMs and remarketing.
How to use the HitPay Credit Card Terminal on Desktop
A desktop setup works best if you have staff members with a laptop and countertop cashier space.
Compatible device: HitPay WisePOS E Credit Card Terminal
Before use:
- Set up your WisePOS E Credit Card Terminal
- Connect your WisePOS E Credit Card Terminal to your desktop.
Your card terminal is now ready to use!
How to charge POS payments on Desktop
Step 1: Log in to your HitPay account on web browser
Step 2: On the left-hand menu, click Point of Sale
Step 3: To collect payment, choose the Quick Sale or Products function.
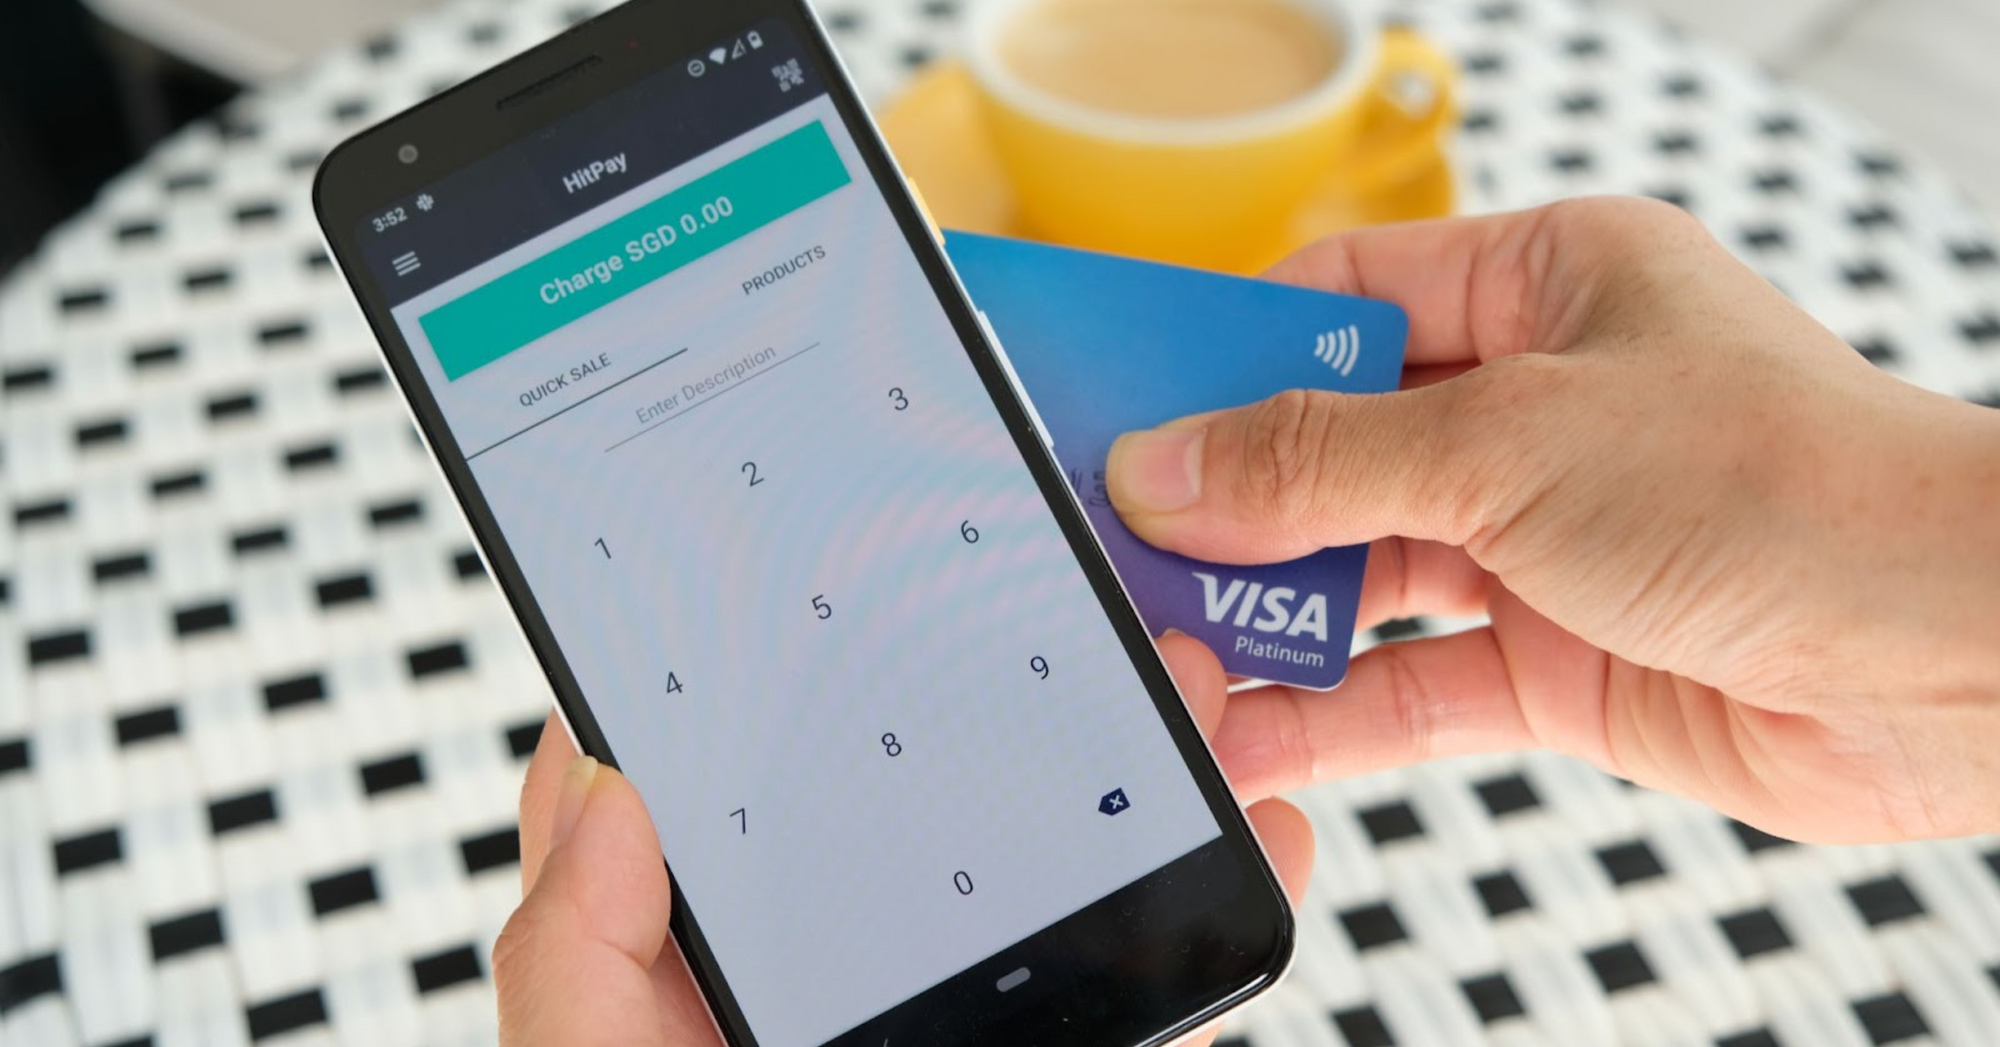
For Quick Sale, enter a remark/description for the transaction, enter the charge amount and tap the Charge button.
For Products, select a pre-uploaded product from your store. The payment amount and details will fill in automatically. Learn how to upload products in this quick step-by-step guide.
Step 4: Select payment method.
Step 5: For card payments, ask your customer to tap or swipe their card on the terminal.
Step 6: Wait for the 'Payment successful' notification to appear. Your payment is complete!
Step 7: Optional — Send a receipt by email, or print a physical receipt with HitPay's Bluetooth receipt printer.
Click here to order your POS Credit Card Terminal for Desktop
How to use the HitPay Credit Card Terminal on Mobile — iOS and Android
Mobile is great if you don't have a spacious countertop setup (e.g. pop-ups, smaller stores). Also ideal if you want the flexibility of accepting payments in different locations, using your tablet or mobile device.
Compatible devices:
HitPay WisePad 3
HitPay M2 Credit Card Terminal (US only)
Before use:
- Download the HitPay mobile app on iOS or Android
- Set up your HitPay Credit Card Terminal. See quick guide for iOS or Android
- Connect your HitPay Credit Card Terminal to iOS or Android
Your card terminal is now ready to use!
How to charge POS payments on Mobile
Step 1: Open the HitPay mobile app. From the home page, tap on the Quick Sale or Products button.
For Quick Sale, enter a remark/description for the transaction, enter the charge amount and tap the Charge button.
For Products, select a pre-uploaded product — the price and details will fill in automatically! Learn how to upload products in this quick guide.
Step 2: Select a payment method.
Step 3: For card payments, ask your customer to tap or swipe their card on the terminal.
Step 4: Wait for the 'Payment successful' notification. When it appears, your payment is complete!
Step 5: Optional — Send a receipt by email, or print a physical receipt with HitPay's Bluetooth receipt printer.
Click here to order your POS Credit Card Terminal for Mobile
How to use the HitPay Tap to Pay
Receive card payments directly on your mobile device — no card terminal required!
Before use: Download the HitPay mobile app on iOS or Android
Note: Tap to Pay on iPhone is currently available in the US only, with more countries coming soon.
How to charge POS payments with Tap To Pay
Step 1: Open the HitPay mobile app. From the home page, tap on the Quick Sale or Products button.
For Quick Sale, enter a remark/description for the transaction, enter the charge amount and tap the 'Charge' button.
For Products, select a pre-uploaded product. Learn more in this quick guide.
Step 2: Select 'Tap To Pay'
Step 3: Ask your customer to tap their card on the back of your device
Step 4: Wait for the 'Payment successful' notification. When it appears, your payment is complete!
Step 5: Optional — Send a receipt by email, or print a physical receipt with HitPay's Bluetooth receipt printer.
Click here to download the HitPay Android app or HitPay iPhone app
If you have any questions, check out our user guides on the HitPay Help Desk.
About HitPay
HitPay is a one-stop commerce platform that aims to empower SMEs with no code, full-stack payment gateway solutions. Thousands of merchants have grown with HitPay's products, helping them receive in-person and online contactless payments with ease.
Join our growing merchant community today!
![Perbandingan 13 Payment Link di Indonesia [2024]: Pilihan Metode Pembayaran Terbaik Untuk Bisnis Online Anda](/content/images/size/w720/2023/05/Newsletter-Design---2023-05-02T221135.775.png)